All Categories
Featured
Table of Contents
- – Rv Repair And Service Near Me Riverside, CA
- – OCRV Center
- – Rv Delamination Repair Near Me Riverside, CA
- – Camper Ac Repair Near Me Riverside, CA
- – Rv Repair Service Near Me Riverside, CA
- – Rv Refrigerator Repair Near Me Riverside, CA
- – Rv Service And Repair Near Me Riverside, CA
- – Motorhome Repair Shops Riverside, CA
- – Rv Repair And Service Near Me Riverside, CA
- – Motorhome Awning Repair Riverside, CA
- – Rv Repair Centers Near Me Riverside, CA
- – Rv Delamination Repair Near Me Riverside, CA
- – OCRV Center
Rv Repair And Service Near Me Riverside, CA
I had one end appeared like yours. While we were at the rally in Copake, the Dometic rep existed and after taking an appearance, advised making use of a boring challenge push the the side back in. I had an item of dowel rod that fit into the channel and used that.
There is a screw in photo number 3 that requires to be removed prior to working with that end - Riverside Rv Solar Panel Installation. I located it much easier to extend out the loosened component of the awning and wedge the very end of the poly cord, that hard white line, right into the channel and it will certainly hold it in location, freeing a hand, till you can take your "push item" and a hammer and start touching the cable and afterwards awning/cord combination back in the network
Rv Delamination Repair Near Me Riverside, CA
As soon as you have the awning back in the channel, replace the screw, seeing to it it either experiences the poly cable or before the cord to pin it against the train. If there is no screw on the various other end, you require to put one in.
Hi all, We have a small tear in our vinyl awning, AE, what is the most effective repair tape for vinyl awnings? Reviews on Amazon are a variety.
Camper Ac Repair Near Me Riverside, CA
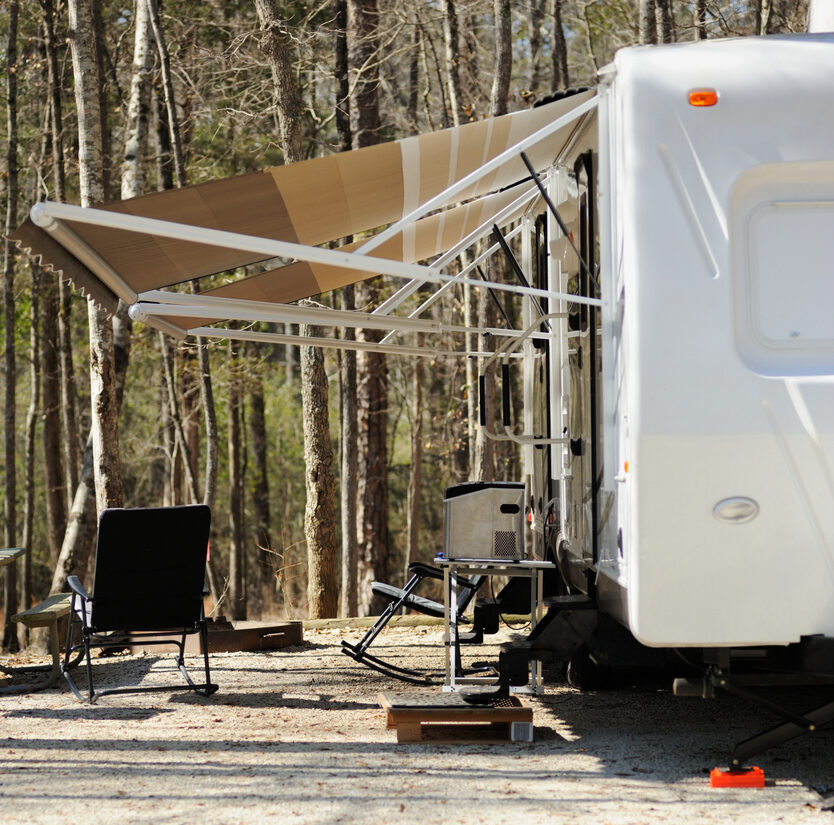
And for motor home vacationers who grow on meeting new individuals in brand-new areas, an awning is among the easiest and most efficient signs of friendliness and sociability. What happens when your Motor home awning requires a little Tender loving care? Awnings, like motor home engines, frequently put on down gradually. They are placed with a lot of the toughest components and climate kinds, and also regular use, which alone can cause breakdowns and tears to the textile.
Some usual functions you'll locate when taking care of awning fixing include: This is, by far, the most frequent problem of a damaged RV awning. And luckily, it is also among the simplest issues to fix. Regardless of usage (although older awnings will normally experience a better quantity of wear and tear), damages to material awnings can happen at any type of time, under any kind of scenario.
Depending on the size of the hole or rip, Recreational vehicle proprietors have alternatives. Like any mechanical attribute of your Motor home, after time, the awning arms, and/or the devices that relocate the arms into area, will certainly stop to function appropriately.
If you have actually got an electric awning that unravels at journalism of a switch, and it simply chooses to stop working eventually, you might have something much more severe on your hands than a dead remote battery. A break in the wiring, a poor switch, or a poor awning electric motor may be the culprit.
Rv Repair Service Near Me Riverside, CA
These items are readily available from on the internet merchants, and almost every local equipment shop. Once more, depending upon the size of the damage, awning repair work tape can be even more than a temporary repair but a long lasting, long-term solution. The majority of kinds of repair service tape are transparent in color and enhanced to protect vinyl, canvas, and other types of resilient material, supplying a water resistant seal that goes on clear, so you don't also discover it.
Or you can grab an outdoor tents repair service set: these usually consist of solid adhesive patches that stick to a range of various fabrics. Around the very same price as repair service tape, camping tent repair packages are additionally readily available at hardware or outdoor camping stores. For holes and rips bigger than normal, you'll wish to think about something a lot more big than a routine patch work.
Often, it's not simply the awning material that needs fixing. You may find on your own wanting to change broken or missing parts to make sure that your awning remains in functioning order. If that's the case, there are some common little bits to be aware of: Handle Insurance adjuster: this mechanism, normally discovered on the arm, allows you to readjust the tension on the awning material.
Rv Refrigerator Repair Near Me Riverside, CA
Do you have an internet site we can go to for even more info?.
I concur with Gary, seems like the product is spoiling (flaking). I believe it's right at the side that is still revealing when the awning is rolled up. Since that area is constantly exposed to the sunlight and weather condition. Another choice may be if you can find a furniture or canvas shop going to do it, you can probably take the fabric off (google for instructions) and have them cut off the broken component and resew the "grain" (really called "Keder welt") back on to it.
We have a 78' instructor and think that the awning is as old as the instructor. Just yesterday I was evaluating it and found both main panels that are sewn with each other in the center, have the sewing coming apart. I do not desire to take the awning down for repair work.
2017 Coachmen Leprechaun Course C MH with a basic mechanical awning - gust of wind got it and pulled the leading places loose. Did not come completely off but the mounting bolts were drawn out concerning 3/4 of the way. As a short-term fix I was able to screw the bolts back in and they obtained relatively tight, really did not intend to go as well for and strip them out any even worse.
Rv Service And Repair Near Me Riverside, CA
Just one problemyour RV awning isn't functioning. We're going to look at the various means your power awning might malfunction and exactly how to figure out where the troubles are.
If you're brand-new to recreational vehicle life you might be questioning just how your awning might malfunction. There are three primary sources of awning troubles: Power interruptions Motor failing Mechanical failings Let's troubleshoot all 3 (for awning textile repair service, check out this short article) But first, a couple of suggestions. We're discussing power awnings today, which implies electric motors and electrical energy.
Motorhome Repair Shops Riverside, CA
It's easier to have an awning stuck closed than to have it stuck open. You're cost-free to drive your lorry to the local recreational vehicle repair service shop right now. You can not drive your recreational vehicle with the awning open even a little bit. Since motorized awnings do put on out and have various other problems, discover just how to run them by hand before you take your very first recreational vehicle journey.
If you listen to no audio at all when you attempt to expand the awning, this is an usual culprit. If you aren't familiar with the fuse panel, take a look in your proprietor's manual for an overview.
Inspect your RV batteries. If your awning is one of the initial things you make use of, its failing might be the indication of a low battery or a malfunctioning converter. If your RV has an integrated battery meter, superb! If not, make use of a volt meter. Unplug from coast power and try the awning with the voltmeter on the battery.
Rv Repair And Service Near Me Riverside, CA
If the main batteries examine out penalty, you'll need to dig a little deeper. It's time to check out the wiring and the power to the awning itself. This is where new individuals, not familiar with recreational vehicle electric systems, need to seek advice from an expert. A malfunctioning awning is unworthy an electrical fire or an injury.
Given that your awning will not extend, you'll require to open it a little bit manually. Just how you access your awning motor will certainly vary depending on your car.
You'll discover them in the trough running down the side of your motorhome or traveling trailer from the motor. Transform off the power before you separate the wires from the car from the cables for the awning.
Next off, take an excellent lengthy check out the awning cords. Examine for split insulation and any kind of other indicators of wear or fraying. If you see any kind of outside sign of damages, it's time to see a professional for replacement wires. If everything looks undamaged, attach the awning wires to a portable battery.
Motorhome Awning Repair Riverside, CA
If the awning does not work, the issue is in the wiring in the awning arms or with the switch or motor. Head up to the motor and locate the electric motor circuitry quick-connect.
Before removing your faulty motor, make the effort to lash down the awning arms on both sides. When the old electric motor is removed and disengaged from the tailoring, the awning arms will certainly expand out promptly. Usage straps to avoid this from happening. Not taking this crucial precaution could cause you to drop off your ladder.
The majority of owners ought to have an expert do electric wiring fixing and replacement. Currently it's time to attach the electric motor straight to a portable battery.
Rv Repair Centers Near Me Riverside, CA
Do refrain from doing this unless you have experience with electric systems. If the electric motor does not respond, it highly likely demands to be changed. You can replace an awning electric motor yourself, yet a lot of you must take the lorry to a motor home service center. This is a DIY project just for knowledgeable recreational vehicle fixer-uppers.
The mechanical parts of your motor home awning are just as susceptible to put on as the circuitry and electric motor. No matter how well an awning is constructed, use, time, and direct exposure to the elements will make repair work and replacement components required. If you're a RV repair work DIY enthusiast, inspect out our Recreation Coachworks Parts Store for hardware, cables, lights, locks, electrical products, and far more.
We have actually stated it before, however it births repeating: A motorhome or travel trailer is a complex item of equipment. Integrating elements of a house and a car leads to a great deal of moving components.
It's clever to have a plan for what you'll do if they will not function, seem negative, or just use out. Get in touch with us today at Leisure Coachworks and we'll help you produce a routine maintenance schedule to lower the chance of any kind of malfunctions when you're out living your best motor home life.
Rv Delamination Repair Near Me Riverside, CA
On a RV, consistent exposure causes harmed plastic components and trim and can unleash mayhem on rolled up awnings that are not shielded from the sunlight - Riverside Rv Solar Panel Installation. Typically the top of the rolled awning shreds, providing the product unsightly at finest and dangerous to roll out at worst. As long as the hardware is intact, there's no factor to change the whole awning simply because the textile is worn-out
OCRV Center
Address: 23281 La Palma Ave Yorba Linda, CA 92887Phone: (714) 909-1444
Email: [email protected]
OCRV Center
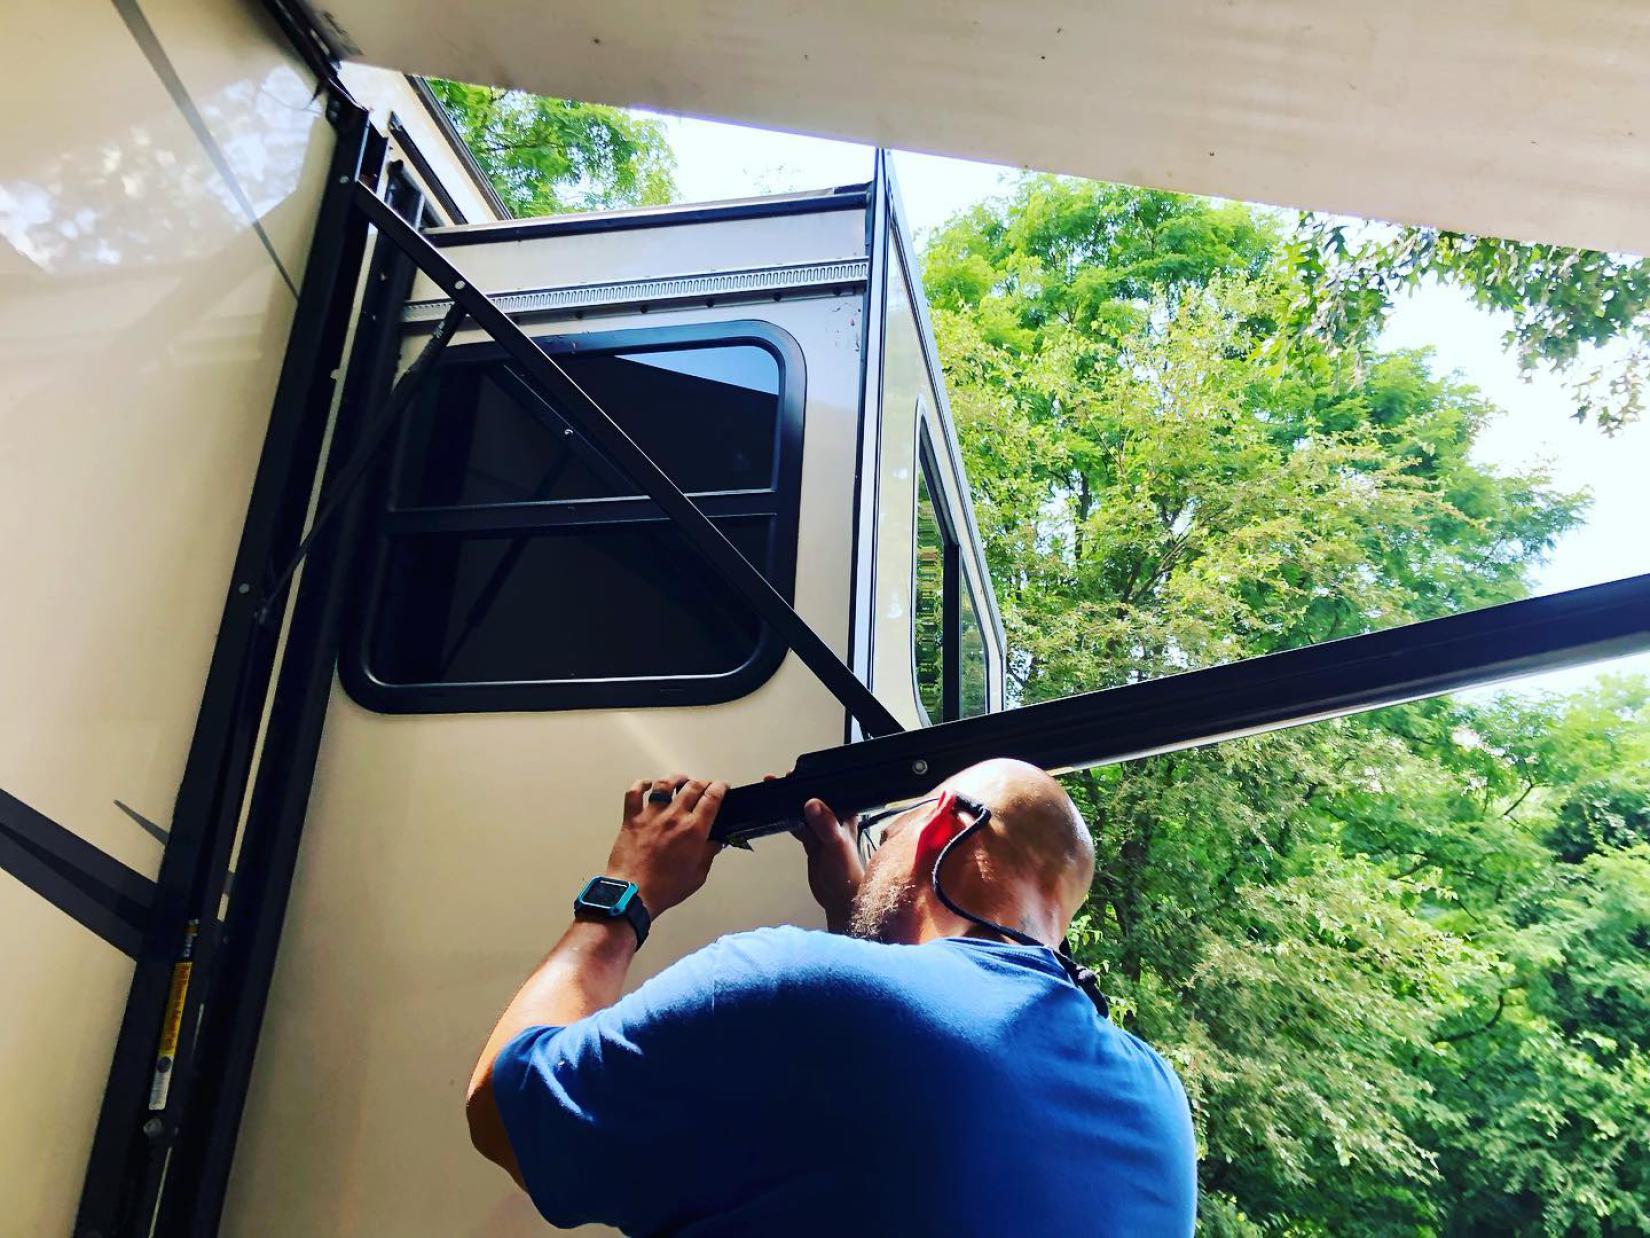
1) Remove screws that go through the awning rail right into the material. 2) Eliminate the lag screws from the front and back upper braces. 3) Slide the whole awning setting up out of either end of the awning rail. If your existing awning still has a tag with the version number and serial number, contact the maker to ensure that it is still the proper design number before ordering brand-new textile.
Rv Repair Places Near Me Riverside, CARv Solar Panel Installation Riverside, CA
Rv Plumbing Repair Near Me Riverside, CA
Rv Delamination Repair Near Me Riverside, CA
Best Rv Repair Near Me Riverside, CA
Motorhome Service And Repair Near Me Riverside, CA
Rv Repair Service Near Me Riverside, CA
Rv Mechanics Near Me Riverside, CA
Rv Ceiling Repair Riverside, CA
Rv Repair Service Near Me Riverside, CA
Rv Floor Repair Near Me Riverside, CA
Rv Repair Places Near Me Riverside, CA
Motorhome Service And Repair Near Me Riverside, CA
Motorhome Repair Service Riverside, CA
Best Rv Repair Near Me Riverside, CA
Rv Delamination Repair Near Me Riverside, CA
Rv Delamination Repair Near Me Riverside, CA
Rv Repair Services Near Me Riverside, CA
Rv Repair Services Near Me Riverside, CA
Motorhome Generator Repair Near Me Riverside, CA
Rv Repair Shops Near My Location Riverside, CA
Rv Repair Places Near Me Riverside, CA
Motorhome Generator Repair Near Me Riverside, CA
Rv Service And Repair Near Me Riverside, CA
Camper Ac Repair Near Me Riverside, CA
Motorhome Service And Repair Near Me Riverside, CA
Rv Repair And Service Near Me Riverside, CA
Rv Repair Places Near Me Riverside, CA
Rv Plumbing Repair Near Me Riverside, CA
Rv Service And Repair Near Me Riverside, CA
Rv Delamination Repair Near Me Riverside, CA
Rv Ceiling Repair Riverside, CA
Rv Repair Shops Near My Location Riverside, CA
Rv Mechanics Near Me Riverside, CA
Rv Repair Shops Near My Location Riverside, CA
Motorhome Repair Shops Riverside, CA
Motorhome Awning Repair Riverside, CA
Motorhome Repair Shops Riverside, CA
Motorhome Awning Repair Riverside, CA
Rv Floor Repair Near Me Riverside, CA
Rv Repairs Near Me Riverside, CA
Rv Solar Installation Riverside, CA
Rv Repair Service Near Me Riverside, CA
Rv Generator Repair Riverside, CA
Motorhome Repair Shop Riverside, CA
Motorhome Awning Repair Riverside, CA
Rv Service And Repair Near Me Riverside, CA
Camper Ac Repair Near Me Riverside, CA
Rv Delamination Repair Near Me Riverside, CA
Motorhome Repair Near Me Riverside, CA
Rv Repair Service Near Me Riverside, CA
Rv Solar Installation Riverside, CA
Rv Repair Service Near Me Riverside, CA
Rv Floor Repair Near Me Riverside, CA
Motorhome Repair Near Me Riverside, CA
Rv Mechanics Near Me Riverside, CA
Rv Repair And Service Near Me Riverside, CA
Rv Repairs Near Me Riverside, CA
Rv Solar Installation Riverside, CA
Rv Repair Centers Near Me Riverside, CA
Best Rv Repair Near Me Riverside, CA
Motorhome Repair Service Riverside, CA
Rv Repair And Service Near Me Riverside, CA
Motorhome Repair Service Riverside, CA
Motorhome Repair Near Me Riverside, CA
Rv Repair Centers Near Me Riverside, CA
Best Rv Repair Near Me Riverside, CA
Best Rv Repair Near Me Riverside, CA
Rv Service And Repair Near Me Riverside, CA
Motorhome Awning Repair Riverside, CA
Full Service Rv Repair Near Me Riverside, CA
Rv Repairs Near Me Riverside, CA
Rv Solar Panel Installation Riverside, CA
Full Service Rv Repair Near Me Riverside, CA
Rv Refrigerator Repair Near Me Riverside, CA
Rv Generator Repair Riverside, CA
Motorhome Repair Near Me Riverside, CA
Rv Repair And Service Near Me Riverside, CA
Around Here Seo Optimization Riverside, CA
Affordable Seo Services For Small Business Riverside, CA
OCRV Center
Table of Contents
- – Rv Repair And Service Near Me Riverside, CA
- – OCRV Center
- – Rv Delamination Repair Near Me Riverside, CA
- – Camper Ac Repair Near Me Riverside, CA
- – Rv Repair Service Near Me Riverside, CA
- – Rv Refrigerator Repair Near Me Riverside, CA
- – Rv Service And Repair Near Me Riverside, CA
- – Motorhome Repair Shops Riverside, CA
- – Rv Repair And Service Near Me Riverside, CA
- – Motorhome Awning Repair Riverside, CA
- – Rv Repair Centers Near Me Riverside, CA
- – Rv Delamination Repair Near Me Riverside, CA
- – OCRV Center
Latest Posts
Irvine Best Eye Insurance For Seniors
Fountain Valley Senior Citizens Health Insurance
Aliso Viejo Insurance For Seniors
More
Latest Posts
Irvine Best Eye Insurance For Seniors
Fountain Valley Senior Citizens Health Insurance
Aliso Viejo Insurance For Seniors