All Categories
Featured
Table of Contents
- – Rv Paint Fullerton, CA
- – OCRV Center
- – Painting An Rv Fullerton, CA
- – Custom Painted Motorhomes Fullerton, CA
- – Rv Paint And Repair Fullerton, CA
- – Rv Paint Shop Near Me Fullerton, CA
- – Custom Painted Motorhomes Fullerton, CA
- – Rv Painter Fullerton, CA
- – Painting Rv Fullerton, CA
- – Class A Rv Custom Paint And Repair Fullerton...
- – Custom Rv Paint Jobs Fullerton, CA
- – Class A Rv Custom Paint And Repair Fullerton...
- – Motorhome Painting Fullerton, CA
- – Motorhome Paint Repair Fullerton, CA
- – OCRV Center
Rv Paint Fullerton, CA
A professional looking paint task calls for good tools, so this is not a location you intend to skimp. I took into consideration renting out or buying a paint sprayer, but eventually chose to stick to paint rollers and brushes because I'm much more comfortable paint that method. It was a good choice because the surface appeared just fine the means we did it.
Right here are the products we utilized: Right here are the actions you'll need to take to finish your Motor home outside paint job. It took us most likely 40 hours of heating stickers that weren't broken with a hair clothes dryer and peeling them off.
(we did our stove exhaust air vent!.?.!!). Re-caulk any seams that need it. Get your surface area as even as feasible. Simply the lightest of scuffs, do not take layers off. Vacuum cleaner and get rid of the dust carefully. Tape off any fixtures or cut with painters tape. We didn't require to prime independently because the paint we picked was 2-in-1.
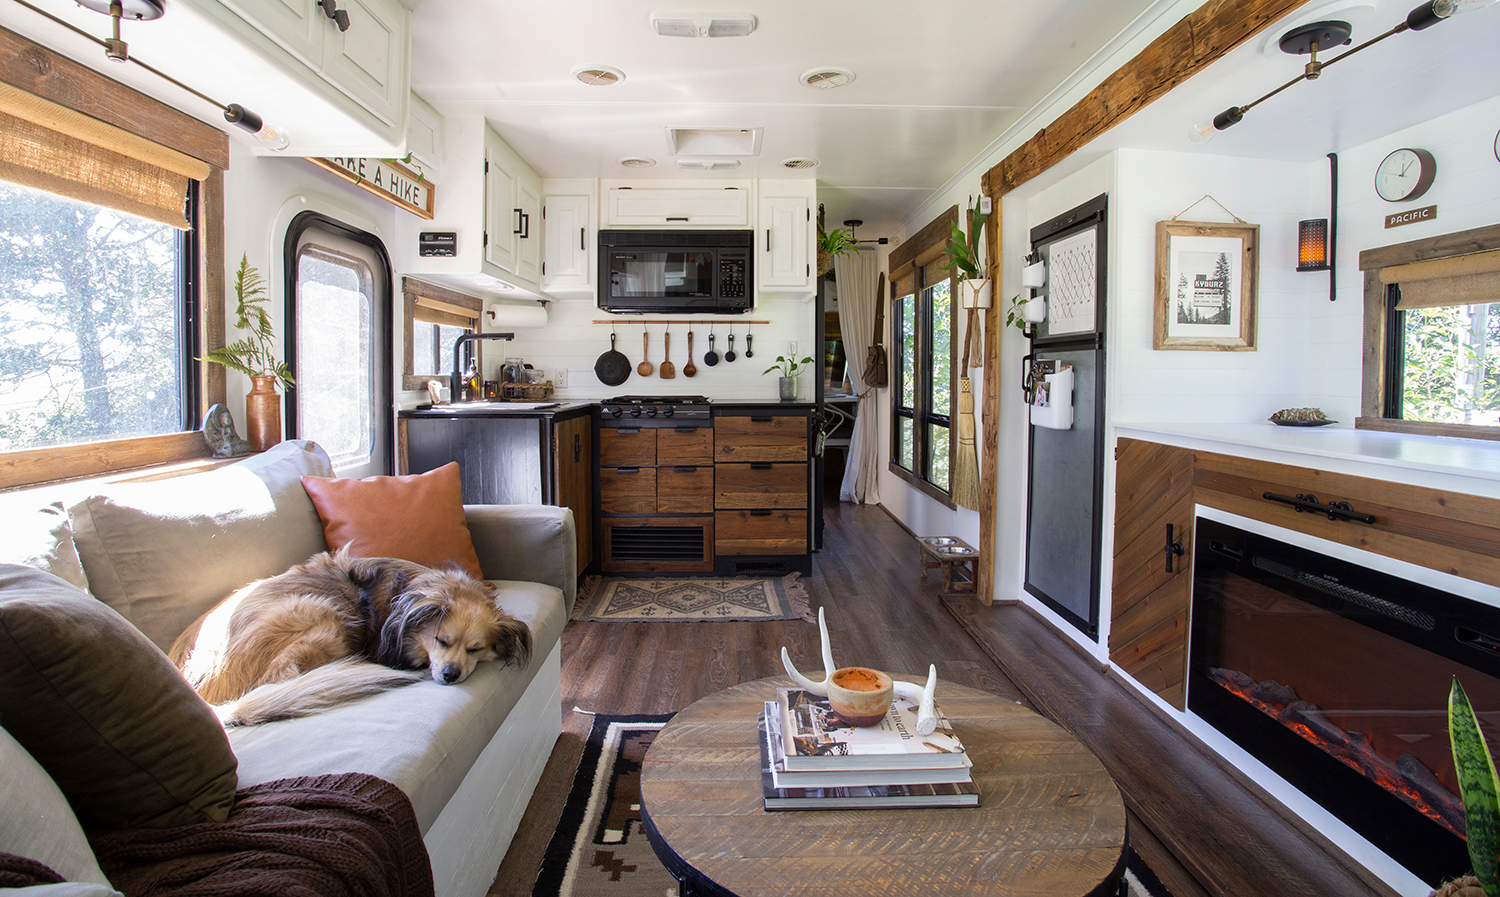
Go slow and come back to it the following day if you have to. Just don't move the projector till you're done! One year later, and I'm really delighted with how the paint is holding up.
Painting An Rv Fullerton, CA
: I really tortured myself attempting to make a decision whether to paint our Recreational vehicle outside, and I am SO pleased that we did. The means we did it might stress out the RV outside paint purists, but I would certainly 100% do this again.
Associate earnings helps money our family traveling and permits me to keep creating inspiring family traveling web content for you (Rv Paint And Repair Fullerton). I so value when you utilize my web links to make purchases you would have made anyhow. For more motor home remodelling, right here are a few other messages you could such as:
I simply selected the canisters up and rattled away. Not also much to publish concerning that.
Outside motor home paint is a great deal much more complicated than it looks. It's not like paint the within your traveling trailer, 5th wheel, or motorhome, though even that has its very own set of intricacies. It's not a matter of choosing your favored shade and slapping right stuff on with a paint roller and a brush.
Custom Painted Motorhomes Fullerton, CA
If you're bound and figured out to remove the specialists and make this a do it yourself job, this little guide will set you on the ideal track. A rig with a fresh layer of outside recreational vehicle paint is a lovely thing, specifically if you're accountable for it. Exterior paints, especially in Motor home and aquatic applications, come with a level of scientific sophistication.
When you atomize your paint with an HVLP or airless sprayer, it needs to bond to the surface at a molecular degree. Without correct prep work, it can not bond. The results will certainly look superb, at the very least up until the first bump occurs and an entire sheet of paint falls off. Prep work is essential long prior to you struck up the paint aisle at the equipment store.
It's frequently less concerning the material of the sidewalls and even more concerning the original paint. Most customers leaping on the Do it yourself paint work bandwagon are boosting an existing aesthetic, not repainting the raw fiberglass or light weight aluminum surface area of a RV.
If you are repainting the raw surface, we have actually obtained you covered there. Your substrate will generally be old paint unless you occur to be painting RVs as they come off the production line. There are 2 things you need to recognize that are of the utmost importance in terms of paint longevity, longevity, and a great aesthetic: surface area prep and bonding guide.
Rv Paint And Repair Fullerton, CA
Yes, it will certainly double the expense of a DO IT YOURSELF RV paint work, but it will likewise conserve you a lot of cash and suffering in the close to future. Polymer is a strong option as an exterior RV paint, especially if you're repainting the raw surface area of a light weight aluminum RV.
Given that polymer is a slim paint, it will generally set you back even more for the additional coverings. Acrylic is typically made use of as a combo for outside paints, such as acrylic-enamel. Latex is a water-based paint and, for the longest time, oil-based paints have actually always been the go-to RV outside paint of choice, or exterior anything, for that issue.
Rv Paint Shop Near Me Fullerton, CA
It's difficult to give this set a solid 'yes,' though considering that lasting feasibility is still ever so a little up in the air. Enamel is oil-based and offers the thickest single coat of the number. It dries out gradually, however it likewise dries out hard, developing a protective covering. Its sluggish drying out time makes paint blunders reparable.
Easily among the most flexible coating coats on the checklist, one-part polyurethane collaborate with timber, fiberglass, steel, light weight aluminum, and plastics. It supplies UV defense and reduces the need for waxing, many thanks to its shiny surface. It additionally enhances wind resistant performance and is a strong waterproofing choice. Surface area prep for polyurethane is an exquisitely detailed and patient process, nevertheless.
Exterior Motor home paint is all concerning surface area preparation. Without surface area preparation, your overcoat could as well be made of cotton candy.
With appropriate surface area preparation, the exterior-grade paint you select will certainly be how your motor home emerges to the world. There are a lot of tough options in the above list, and RVers will certainly all be satisfied to inform you their very own personal choice. Eventually, it refers obtaining what you pay for.
Custom Painted Motorhomes Fullerton, CA
However that's not to claim the other choices are incorrect, simply less effective in regards to durability. Marine quality may sound like it has absolutely nothing to do with Recreational vehicles, however it does, in the majority of ways. Watercrafts and Recreational vehicles share several usual attributes. Some are light weight aluminum, and some are fiberglass. Both call for UV security, waterproofing, corrosion resistance, versatility, and a desirable aesthetic.
While temperature affects the curing procedure of exterior recreational vehicle paint, there's still a home window in which many paint applications are optimum. You're good to go in temperature levels anywhere between 50F and 85F (Rv Paint And Repair Fullerton). Before you begin, take notice of the weather condition, specifically if you select an oil-based paint. Since they cure slower, the window for catastrophe is bigger.
That will certainly be much more hard near the Gulf of Mexico, the Pacific Ocean, or the Atlantic Ocean. In those cases, locate an indoor facility, head inland, or wait up until the loss. Prevent windy problems whenever feasible, especially if you're going to utilize a paint sprayer. This is where all the enjoyable scientific research things begins.
While bonding primer is frequently considered the utmost requirement for a solid top layer to adhere, it's not. It's very vital, however it's not the end-all-be-all of the procedure. Not only do you have to sand every square inch of surface area on your motor home, yet you likewise need to sand your bonding guide.
Rv Painter Fullerton, CA
A decal cleaner could include a warm gun, Goo Gone, or a straightforward putty scrape. Currently, it's time for the bonding guide, which belongs to the surface area prep. You can apply bonding primer with an airless or HVLP sprayer, a roller, or a paintbrush. You do not have to be as cautious throughout this step since you will sand the surface once more, eliminating any imperfections, hairs, or fibers from the rollers, or excess guide accumulation.
Many bonding primers will supply you with a 7-day window for optimum topcoat adherence. When you come back, utilize 220+ grit sandpaper to lightly open the guide and remove any kind of flaws. Do not dig too deep with the sandpaper, as you don't intend to mistakenly remove the bonding primer. The pathway to creating the very best outside motor home paint job starts and ends with a sprayer.
The problem is not every person fits using one. Hold that trigger for also lengthy or get the suggestion as well near the surface, and things go southern quickly. If you favor to use a roller, a three-inch, high-density foam roller is the very best selection. It produces the best coating without leaving little fibers that come from wool rollers.
Painting Rv Fullerton, CA
This is important to a successful finish. You should just utilize paint brushes for difficult-to-access locations and stick with the foam kind instead of the bristles. The bristles have a tendency to leave little rows behind, which looks negative when it cures. No matter what you do, do not overdo it. Gravity works against paint, much like whatever else.
If you determine to spray paint, more prep work is essential, mostly in the form of painter's tape and concealing up every surface you don't want to repaint. Location the pointer about 8 to 12 far from the surface area and move quickly with overlapping rows. The woman's rate (in the above video clip) is right, but, at times, her strategy is not.
At the 2:25-minute mark, her technique is off, as she's no longer maintaining an equal range between the suggestion and the surface of the motor home. It might appear insignificant, however it develops entire rows of slim paint that sandwich rows of thick paint between them. Guarantee that there will be no damaging climate occasions, to the ideal of your ability, in the 24 hours following your paint task.
Class A Rv Custom Paint And Repair Fullerton, CA
For low-gloss or low-sheen paint tasks, feel free to wax the completed product. The finest method to maintain the visual and total allure of your external RV paint task is to routinely clean it.
A DIY exterior Recreational vehicle paint job isn't as glamorous and rejuvenating as it appears. The excellent news is that nothing that looks fantastic ever comes from little effort.
Custom Rv Paint Jobs Fullerton, CA
You do not need to fret if it's waxed due to the fact that all the wax has actually to be eliminated in order to repaint. To repaint outside fiberglass you will certainly require to sand for any paint to have any possibility of attachment. We obtain right into what grit sand paper, lol, and thats another topic.
Slap some paint on and allow it completely dry, ideal? Even the simplest overviews for repainting a Motor home will include a couple of more steps than that. Fortunately is, once you finish the following actions, you'll just make the remainder of the work that much easier: Even small debris could potentially obtain in the way of a high quality paint job.
Class A Rv Custom Paint And Repair Fullerton, CA
This is additionally the time to add recreational vehicle primer to ensure a consistent layer. With these steps out of the method, grab your essential painting equipmentwhichever you believe will certainly be best matched for the paint work you have in mindand obtain all set to function. From below, the work of paint your RV is fairly easy and straight-forward.
The most basic method to make sure that your paint looks great is to avoid these silly blunders:. Chemicals and abrasives will do one of the most harm right here. Keep in mind that you're attempting to make things very easy for a brand-new coat of paint, not wreck your RV exterior. Something as simple as a dead bug on your RV outside can actually embed in, which only makes even more benefit on your own over time.
Allow the paint ample time to completely dry in a secured area so no debris gets in the means of the paint setup. As soon as dry, you may desire to use a safety wax covering to maintain your hard work.
Motorhome Painting Fullerton, CA
You don't require to worry if it's waxed since all the wax has to be gotten rid of in order to paint. To paint exterior fiberglass you will certainly need to sand for any kind of paint to have any type of opportunity of attachment. after that we get right into what grit sand paper, lol, which one more subject.
Recreational automobiles (Motor homes) have actually come a long way in current years, with modern designs and innovative features making them extra comfortable and hassle-free than ever before. One aspect that has actually also seen significant advancement is RV paint layouts. No more restricted to simple white exteriors, recreational vehicle owners today have a wealth of alternatives to choose from when it involves personalizing the look of their automobiles.
Whether you're aiming to create an one-of-a-kind look or just intend to include a touch of character to your recreational vehicle, there are many methods to tailor the exterior of your car. One of one of the most preferred fads in RV paint designs today is the usage of graphics and murals. These styles range from nature-inspired landscapes to cartoon personalities and everything in between.
Motorhome Paint Repair Fullerton, CA
This pattern involves matching 2 corresponding shades, such as blue and gray, to produce an unified appearance that's both trendy and useful. Certainly, the fad in recreational vehicle paint layouts is not restricted to just the outside of the car. Numerous recreational vehicle proprietors are likewise choosing to customize the insides of their vehicles with strong shades and patterns.
OCRV Center
Address: 23281 La Palma Ave Yorba Linda, CA 92887Phone: (714) 909-1444
Email: [email protected]
OCRV Center
To conclude, the trend in motor home paint layouts is everything about revealing individuality and making a statement. Whether you prefer easy and traditional, vibrant and appealing, or anything in between, there are many options to pick from when it concerns personalizing the appearance of your RV. Whether you're a seasoned motor home proprietor or simply starting out, it's never ever been easier to make your car genuinely your own.
Motorhome Paint Shops Fullerton, CACustom Painted Motorhomes Fullerton, CA
Custom Painted Motorhomes Fullerton, CA
Painting Rv Exterior Fullerton, CA
Motorhome Painting Near Me Fullerton, CA
Rv Painter Fullerton, CA
Motorhome Paint Shops Fullerton, CA
Rv Exterior Paint Fullerton, CA
Motorhome Paint Shops Fullerton, CA
Paint Rv Fullerton, CA
Paint Motorhome Exterior Fullerton, CA
Motorhome Painting Near Me Fullerton, CA
Motorhome Custom Paint Jobs Fullerton, CA
Paint Motorhome Exterior Fullerton, CA
Rv Paint And Body Shops Near Me Fullerton, CA
Rv Exterior Paint Fullerton, CA
Motorhome Painting Fullerton, CA
Rv Painting Fullerton, CA
Rv Painting Near Me Fullerton, CA
Custom Rv Paint Jobs Fullerton, CA
Rv Paint Fullerton, CA
Rv Paint Job Fullerton, CA
Rv Painter Fullerton, CA
Rv Paint Shop Near Me Fullerton, CA
Motorhome Paint Repair Fullerton, CA
Rv Painting Fullerton, CA
Rv Painter Fullerton, CA
Rv Painting Near Me Fullerton, CA
Motorhome Custom Paint Fullerton, CA
Painting Rv Fullerton, CA
Painting An Rv Fullerton, CA
Painting Rv Fullerton, CA
Motorhome Custom Paint Fullerton, CA
Motorhome Paint Shops Fullerton, CA
Rv Painter Fullerton, CA
Motorhome Painting Fullerton, CA
Painting Rv Fullerton, CA
Custom Rv Paint Jobs Fullerton, CA
Motorhome Custom Paint Fullerton, CA
Custom Motorhome Paint Jobs Fullerton, CA
Painting Rv Walls Fullerton, CA
Custom Rv Paint Jobs Fullerton, CA
Custom Motorhome Paint Jobs Fullerton, CA
Rv Paint And Body Shops Near Me Fullerton, CA
Rv Exterior Paint Fullerton, CA
Rv Paint Shop Near Me Fullerton, CA
Rv Paint Fullerton, CA
Motorhome Painting Near Me Fullerton, CA
Custom Painted Motorhomes Fullerton, CA
Custom Rv Paint Jobs Fullerton, CA
Rv Paint Repair Fullerton, CA
Paint Rv Fullerton, CA
Custom Painted Motorhomes Fullerton, CA
Custom Painted Motorhomes Fullerton, CA
Rv Painting Fullerton, CA
Motorhome Painting Fullerton, CA
Rv Paint Repair Fullerton, CA
Rv Painting Fullerton, CA
Custom Rv Paint Jobs Fullerton, CA
Rv Painter Fullerton, CA
Rv Paint Fullerton, CA
Custom Motorhome Paint Jobs Fullerton, CA
Motorhome Painting Near Me Fullerton, CA
Rv Paint Shop Near Me Fullerton, CA
Custom Motorhome Paint Jobs Fullerton, CA
Motorhome Painting Near Me Fullerton, CA
Motorhome Custom Paint Fullerton, CA
Motorhome Painting Near Me Fullerton, CA
Rv Painting Fullerton, CA
Rv Paint Fullerton, CA
Rv Paint And Repair Fullerton, CA
Rv Painting Near Me Fullerton, CA
Rv Painting Fullerton, CA
Rv Painter Fullerton, CA
Paint Rv Fullerton, CA
Paint Motorhome Exterior Fullerton, CA
Class A Rv Custom Paint And Repair Fullerton, CA
Rv Paint Shop Near Me Fullerton, CA
Finding A Good Local Seo Firm Fullerton, CA
Finding A Good Local Seo For Small Business Fullerton, CA
OCRV Center
Table of Contents
- – Rv Paint Fullerton, CA
- – OCRV Center
- – Painting An Rv Fullerton, CA
- – Custom Painted Motorhomes Fullerton, CA
- – Rv Paint And Repair Fullerton, CA
- – Rv Paint Shop Near Me Fullerton, CA
- – Custom Painted Motorhomes Fullerton, CA
- – Rv Painter Fullerton, CA
- – Painting Rv Fullerton, CA
- – Class A Rv Custom Paint And Repair Fullerton...
- – Custom Rv Paint Jobs Fullerton, CA
- – Class A Rv Custom Paint And Repair Fullerton...
- – Motorhome Painting Fullerton, CA
- – Motorhome Paint Repair Fullerton, CA
- – OCRV Center
Latest Posts
Evaporative Cooler Rust Repair Alhambra
Home Hvac Maintenance Alhambra
Air Conditioner Maintenance La Canada Flintridge
More
Latest Posts
Evaporative Cooler Rust Repair Alhambra
Home Hvac Maintenance Alhambra
Air Conditioner Maintenance La Canada Flintridge